Most option backtests that look clean on a spreadsheet fall apart the moment you trade them with real legs. A short straddle, an iron condor, a calendar — these are not single trades. They are baskets. And a basket behaves very differently from the sum of its legs once you add fills, slippage, costs, and a stop-loss that has to act on the whole structure at once.
If you backtest each leg in isolation and then add the numbers, you are testing a strategy you will never actually trade. This post walks through the basket-level assumptions that matter for multi-leg options backtesting in the Indian market, and the places where false confidence creeps in.
Why single-leg thinking breaks on baskets
A multi-leg structure has one combined P&L, one combined margin, and usually one risk rule that watches the net position. But the legs fill at different prices, decay at different rates, and react to the same move in opposite directions.
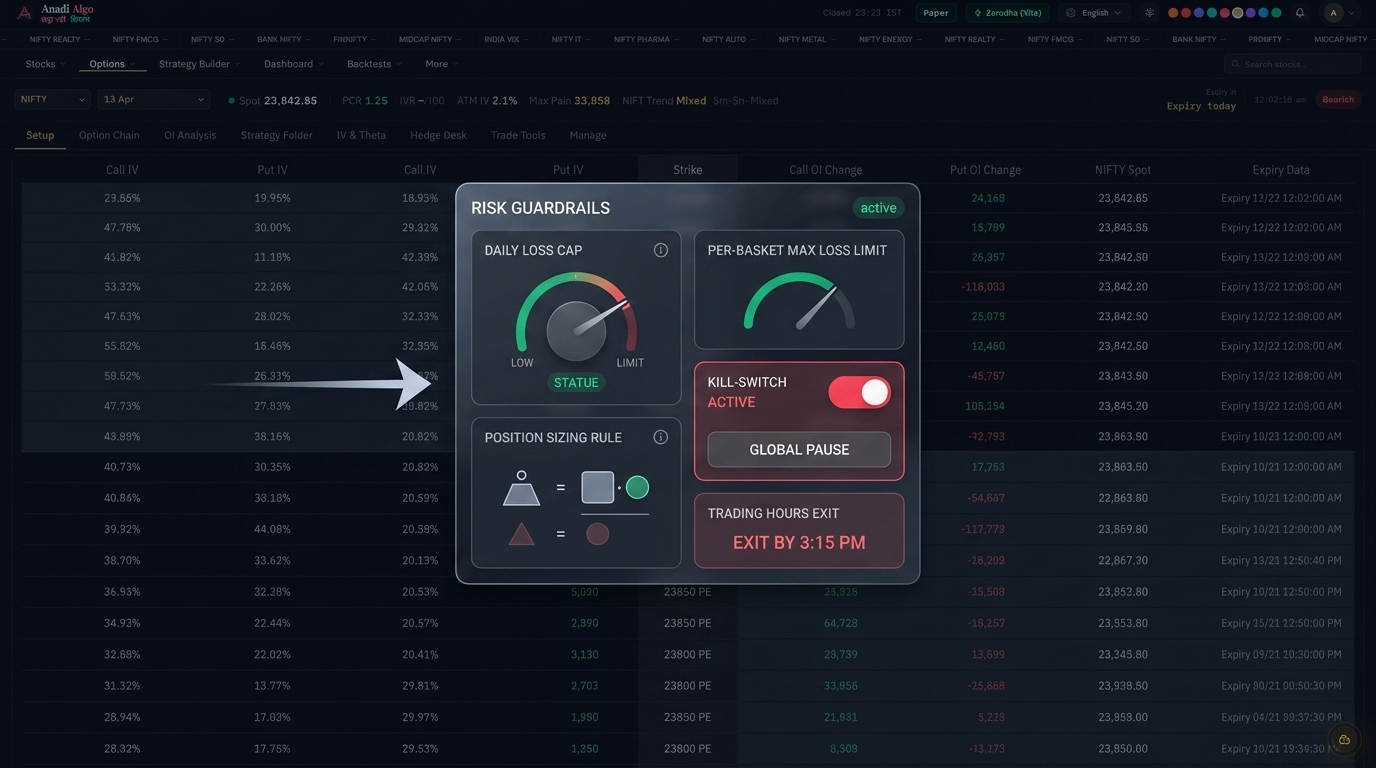
Take a NIFTY short straddle. The call and put are sold together, but on a trending day one leg bleeds while the other prints. Your stop-loss does not care which leg is hurting — it watches the combined MTM. So if your backtest applies a per-leg stop, or assumes both legs entered at the mid price at the same millisecond, you have already drifted away from reality.
The core rule: backtest the basket as one object. Net entry, net exit, net stop. Treat the legs as inputs to that object, not as separate trades.
Entry assumptions for a basket
Fill the whole basket, or none of it
The first honest question: did the full basket actually fill? In live trading, a four-leg structure can partially fill — three legs go through, one lags because of thin liquidity at a far strike. Now you are holding a broken position with risk you never modeled.
A clean backtest should assume the basket fills only if every leg has a realistic fill at entry. If a far OTM hedge leg in your iron condor sits in an illiquid strike, model that. Either assume a worse fill price or treat the entry as skipped. Pretending all four legs filled at the touch is the single most common way a multi-leg backtest overstates its edge.
Slippage stacks per leg
Slippage is not one number on a basket. It is paid on every leg, every time.
A two-leg spread pays slippage four times across the trade — entry on both legs, exit on both. A four-leg condor pays it eight times. If you assume half a tick per leg, that adds up fast on weekly expiries where you might be entering and exiting frequently. Model slippage per leg, then sum it. The ATM legs of a straddle are liquid and slip less; the wings of a condor are thinner and slip more. Use different assumptions for liquid versus illiquid strikes instead of one flat figure.
Exit assumptions that change the result
Basket stop-loss versus per-leg stop
This is where most multi-leg backtests quietly lie. A basket stop-loss triggers on combined MTM — say, exit the whole structure if the net loss hits a rupee figure or a percentage of the margin blocked. A per-leg stop exits each leg on its own level.
These produce completely different equity curves. A per-leg stop on a straddle might close your losing call early while you ride the put, leaving you net long delta into a reversal. A basket stop holds both until the combined damage hits your line, then exits everything together. They are not interchangeable. Pick the one you will actually run live, and backtest only that. If you trade a basket stop, a per-leg backtest is testing a different strategy.
Square-off order and timing
When a basket stop fires, the legs do not all exit at the same instant. Which leg squares off first? In a stressed market, the leg you most want out of — the one running against you — is often the one with the widest spread at that moment. Assume your exit fills are worse than your entry fills during a stop event, because that is when liquidity thins and the move is against you.
Also pin down your exit clock. Expiry-day baskets behave nothing like swing baskets here. Gamma risk near expiry means a stop that looked safe at 1 PM can gap through your level by 3 PM. If your backtest assumes a fill exactly at the stop price on expiry afternoon, you are underestimating the worst case. Build in a buffer.
Costs that quietly compound
For multi-leg trades, transaction costs are not a rounding error. Brokerage, STT (heavier on the sell side for options), exchange charges, GST, and stamp duty all apply per leg. A four-leg basket pays the full stack on entry and exit.
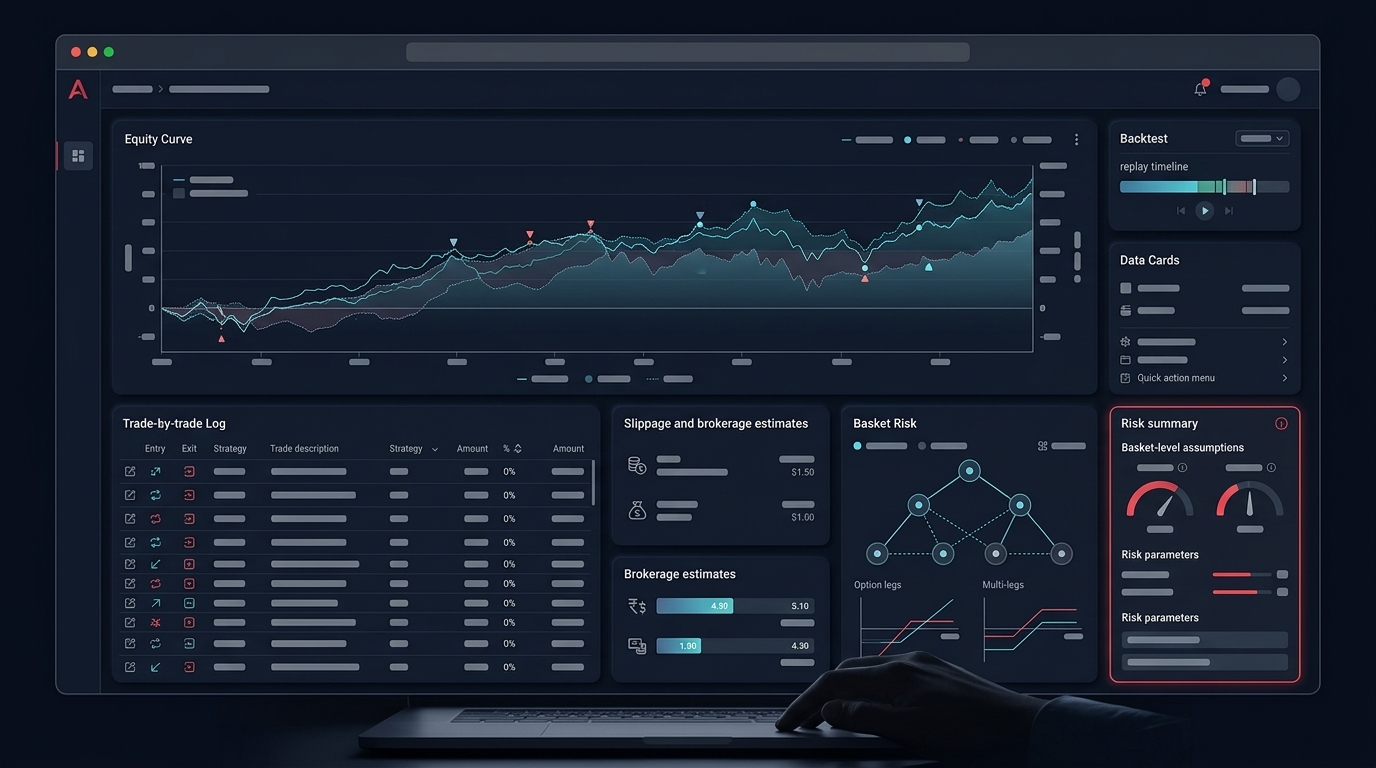
Run your backtest once with zero costs and once with full per-leg costs. The gap between those two equity curves is your honest cost drag. If a high-frequency weekly basket only looks profitable in the zero-cost version, it is not a strategy — it is a fee generator for everyone except you. This is the same discipline that separates a real edge from an overfit backtest: the result has to survive contact with costs and slippage.
Hedge legs and margin reality
Hedged baskets get a margin benefit, and that benefit is part of the strategy, not a side note. Your return on capital depends on the margin actually blocked, so your backtest must compute returns against the hedged margin — not against the notional, and not against an unhedged figure.
But there is a trap. The hedge benefit assumes both legs stay on. If your far hedge leg is the one that fails to fill at entry, or gets squared off first during a stop, your margin requirement can jump mid-trade. Model the position as hedged only while the hedge is genuinely present. A serious approach to risk management treats the hedge leg as load-bearing, because that is exactly what it is.
This is where a workflow that shows basket preview, margin estimate, and net risk together — before execution — keeps the backtest assumptions and the live trade honest with each other. The point is not the tool; it is that the same net-basket view you backtest is the one you act on.
A practical basket-backtesting checklist
Before you trust a multi-leg backtest, confirm:
- Basket entry is all-or-none. No trade unless every leg has a realistic fill.
- Slippage is per leg, with thinner strikes assigned worse fills than ATM legs.
- One stop rule, applied at the basket level — the same rule you will run live, not a per-leg stand-in.
- Exit fills are modeled worse than entry fills, especially during stop events and near expiry.
- Full per-leg costs are included: brokerage, STT, exchange, GST, stamp duty, on every leg, both sides.
- Returns are measured against hedged margin, and the hedge is assumed present only while both legs are on.
- Expiry baskets carry a gap buffer for gamma risk in the final hours.
- Zero-cost and full-cost curves are compared, so cost drag is visible, not hidden.
A multi-leg backtest is only as honest as its weakest assumption. If you want to test these basket-level rules with clearer, conservative defaults rather than spreadsheet guesses, you can explore options backtesting the way you will actually trade it and request early access to try it on your own structures.
The goal is not a prettier equity curve. It is a backtest that survives the slippage, costs, and stop behavior of a real basket — so live trading holds no surprises the test should have caught.